Renovation Stages: In What Order Is an Apartment Renovated?
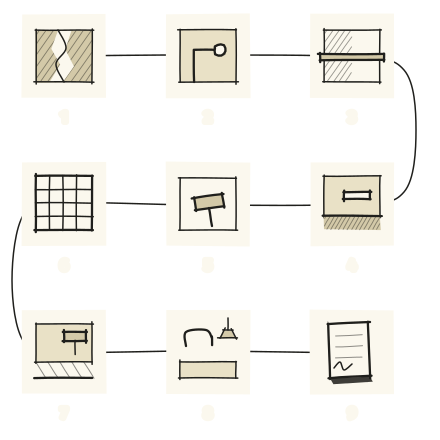
An apartment renovation runs in 9 stages from rough work to handover. The renovation starts with demolition and partitions, wiring, wall plastering, floor screed, and skim coat.
The remaining stages are waterproofing and tiles, painting, floors and doors, plumbing and furniture, then cleaning.
Wall plastering always comes before the floor screed, because falling mortar damages fresh screed.
Wiring and pipes go in early too, since they sit hidden behind your finished surfaces and are hard to change later.
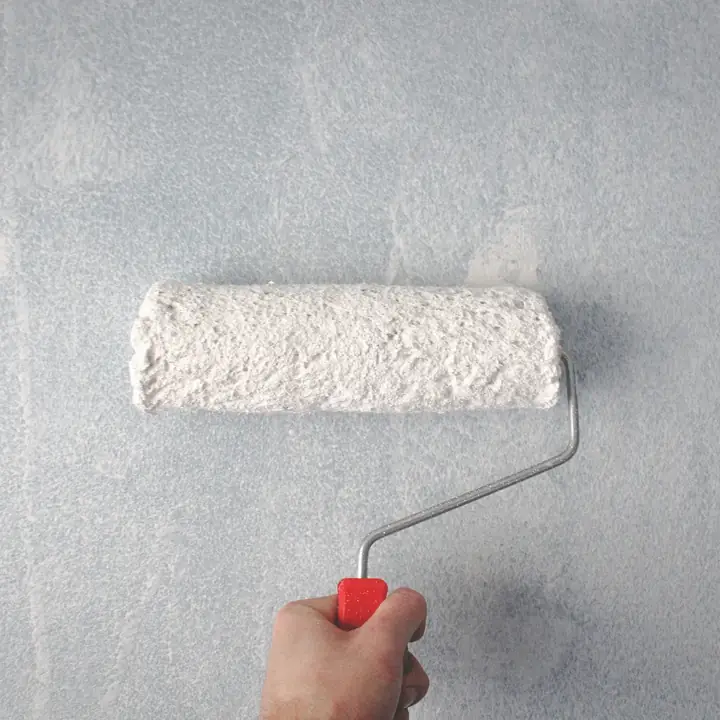
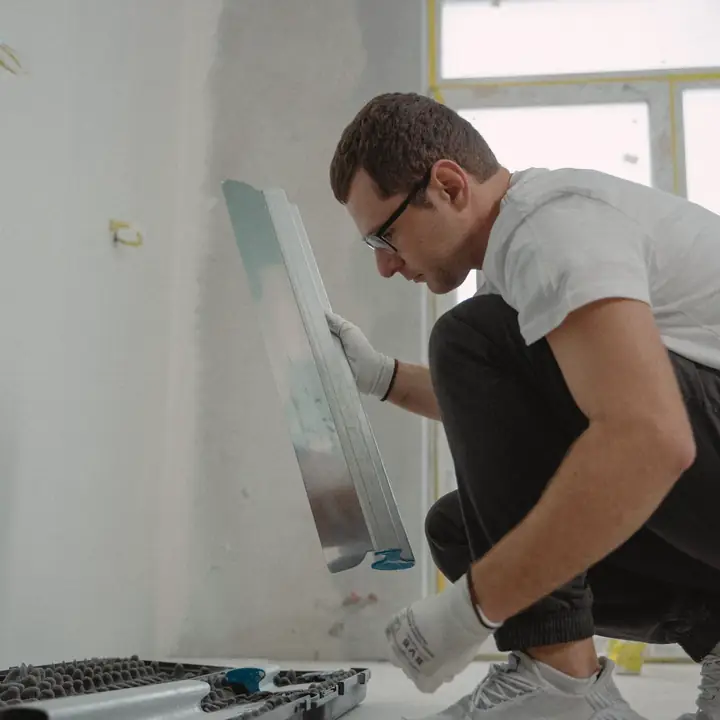
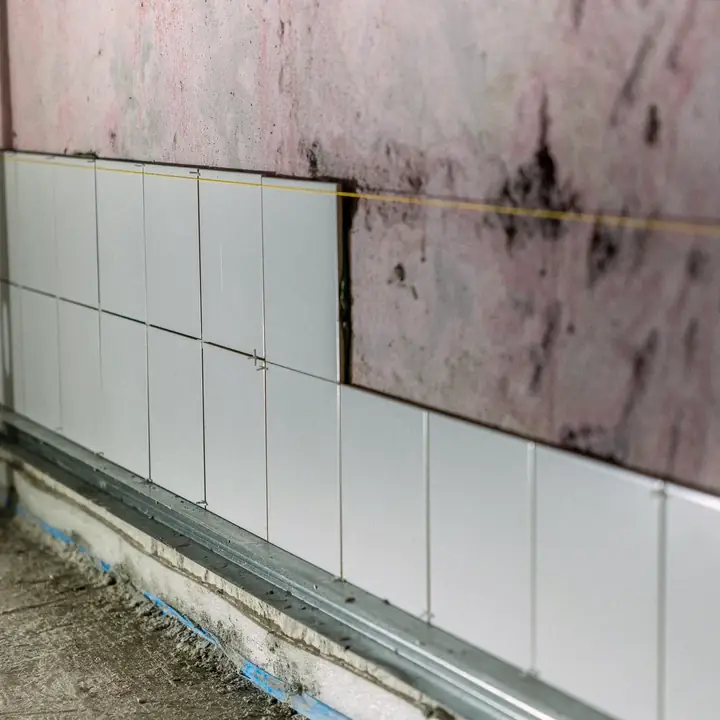
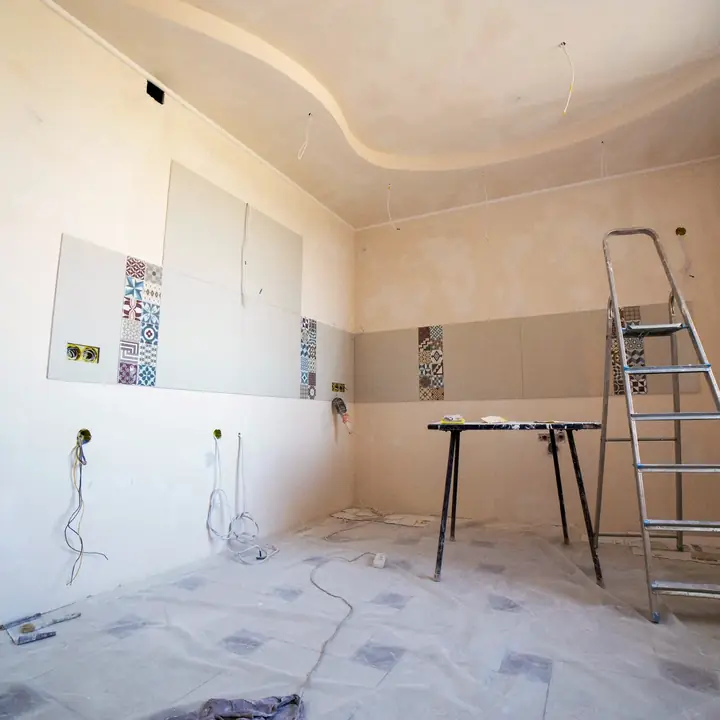
What Is the Order of Stages in an Apartment Renovation?
- 1Demolition and partitions
- 2Electrical wiring
- 3Wall plastering
- 4Floor screed
- 5Skim coat (filler)
- 6Waterproofing and wall and floor tiling
- 7Painting and decorating, flooring (laminate installation), and interior doors
- 8Plumbing fixtures, lighting, and furniture
- 9Final cleaning and handover
In wet areas, waterproofing goes on and dries before any tiles are laid. Furniture assembly, plumbing fixtures, and deep cleaning come at the very end.
Which Comes First, Plastering or Floor Screed?
Plastering comes first, and the floor screed comes after. Mortar dropped during wall plastering ruins a fresh screed, so you never pour the screed before plastering.
Plumbing pipes can go in at two different points. Some crews run pipes alongside the electrical wiring before plastering, while others lay them right after plastering.
Either way, wall plastering finishes before the floor screed, and all pipes are in place before the screed is poured. Wall and floor tiles go on after both are done.
What Must You Decide Before Each Stage Begins?
Before each renovation stage starts, lock in the decisions that are hard to change later. Early stage decisions include socket positions before wiring and flooring types before the floor screed.
| Stage | What must be decided beforehand |
|---|---|
| Demolition and partitions | Check whether any wall is a load-bearing wall before removing it; set the exact dimensions for new door openings. |
| Electrical wiring | Position your bed, TV, and desk before chasing walls so sockets land in the right spots. |
| Wall plastering | Choose all finishing materials: wallpaper, wall tiles, parquet, paint, and doors. |
| Floor screed | Choose each room’s flooring: laminate, parquet, or floor tiles. |
| Skim coat (filler) | Start finishing only after rough work is complete and all surfaces, including plastered walls, have fully dried. |
| Waterproofing and tiling | Buy wall and floor tiles with 5-15% extra for waste, as different batches can vary in shade. |
| Painting and decorating, flooring, and interior doors | Buy laminate with 5-15% extra for waste as well; start painting only after all dusty work is completely finished. |
| Plumbing fixtures, lighting, and furniture | Order custom furniture early so it is built before finishing work ends. |
| Final cleaning and handover | Write the handover criteria and allowed tolerances into your works contract when you sign it. |
More details for these stages:
- Mark kitchen appliances and light fixtures so outlets sit at the right height.
- Square corners to an exact 90 degrees wherever built-in furniture will stand.
- Install the front door and all windows, and run all plumbing and heating pipes, before pouring the screed.
- Allow the lower end of the tile waste range for straight layouts, and the higher end for diagonal or patterned layouts.
- Fit the toilet and bathroom mixer taps at the very end.
Why Must You Plan Wiring Before Plastering?
You must plan electrical wiring before plastering because cables sit hidden inside the walls. Hidden cables are hard to move once finishing is done.
Before the crew cuts channels in the walls:
- Decide where your bed, TV, and desk will go so sockets end up in the right places.
- Mark the exact spots for kitchen appliances and light fixtures in advance too, so every outlet is installed at the proper height.
How Long Does an Apartment Renovation Take?
A full renovation of an apartment of about 60 m² takes 2-3 months from a black frame (bare shell). A renovation from a white frame (plastered shell) takes about 1-2 months.
Your exact timeline depends on the floor area, the actual condition of the apartment, and the agreed scope of work.
How Long Does a Floor Screed Take to Dry?
A floor screed dries at a rate of about one week per 1 cm of thickness under normal conditions. Thicker screed layers take longer to dry.
You normally wait at least 25-30 days before laying tiles or laminate. Check the tile adhesive instructions for the screed’s exact minimum age and allowed moisture level.
The floor screed dries more slowly in winter, when humidity is high.
When Do You Need All Nine Stages?
You need all nine stages for a renovation from a black frame. In a white frame apartment the walls are plastered and the floor is usually screeded, and power, water and gas are brought into the flat. The internal wiring and the pipes to the wet points are usually still to do, depending on the developer, so check what the handover includes.
A green frame adds the internal wiring, water and sewer pipes and usually the heating pipes to a white frame, so work in a green frame usually starts from the skim coat, and in a white frame from the wiring and pipes.
Frame labels in Tbilisi do not follow a single standard, so always check the apartment’s actual condition before counting stages.
The table below shows the remaining stages and timelines by condition.
| Apartment condition | Remaining stages | Timeline |
|---|---|---|
| Black frame | All 9 stages | about 2-3 months |
| White frame | Usually stage 2 (wiring and pipes) and stages 5 to 9; plaster and screed are usually done, except in the bathroom | about 1-2 months |
| Green frame | Stages 5 to 9 (from skim coat to handover); wiring and pipes are installed | about 30-45 days |
| Cosmetic renovation | painting, floor covering and minor works | about 2-4 weeks |
The frame timelines are calculated for an apartment of about 60 m², and a larger apartment takes more time.
How Much Does Each Stage Cost?
The labour price for each stage in the table below is per unit (per 1 m² or per 1 point). Each labour price covers work only, with no materials.
You can see the full list of labour prices for every stage in one table.
Our guide on how to choose a renovation company shows what to check before signing. Read the guide if you plan to hire a tradesperson or crew for any stage.
| Work | Labour price |
|---|---|
| Demolishing a non-load-bearing brick or block partition | 10 to 35 GEL per 1 m² of wall |
| Electrical point (wiring to the point, fitting a socket or switch) | 15 to 40 GEL per 1 point |
| Wet point (pipe to the plumbing point and connecting the fixture) | 80 to 110 GEL per 1 point |
| Manual wall plastering | 15 to 25 GEL per 1 m² of wall |
| Floor screed | 10 to 20 GEL per 1 m² |
| Skim coat (filler) | 5 to 30 GEL per 1 m² |
| Wall and floor tiling, tiles up to 60 cm, on floor or wall | 20 to 80 GEL per 1 m² |
| Painting and decorating | 5 to 25 GEL per 1 m² |
| Laminate installation | 5 to 25 GEL per 1 m² |
| Post-renovation cleaning | about 15 GEL per 1 m² |
How Should You Tie Payments to Stages?
Tie payments to stages when you sign your works contract, so each payment is linked to a completed and accepted stage. Crew payment schedules vary:
- Some crews split payment into instalments.
- Some take an advance followed by stage payments.
- Others ask for no advance and get paid only after each completed stage is handed over.
For every payment in the works contract, write down which stage it follows and how that stage is signed off.
Managing from abroad? Write in English for a free written preliminary estimate in 2 working days by email, WhatsApp, or Viber. How we run a job for owners abroad is on renovation for owners abroad.
Check each stage against our stage acceptance checklist before you pay for it.
What Happens at Final Handover?
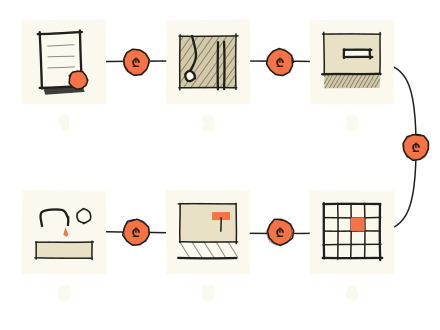
At handover, the apartment gets a deep post-renovation clean and the crew hands back the keys.
Agree in your works contract beforehand how handover will be documented (with completion certificates). Also agree whether there is an observation period after work ends.

Request an estimate
Based on your floor area, building type, and photos, you get a free reply by email, WhatsApp, or Viber within 2 working days, with no obligation. Before the contract we see the flat, in person or on a video call, and fix the price.
Our schedule is booked until January 2027, so new renovations start from January. You still get your estimate now, and we agree the date to see the flat now.